


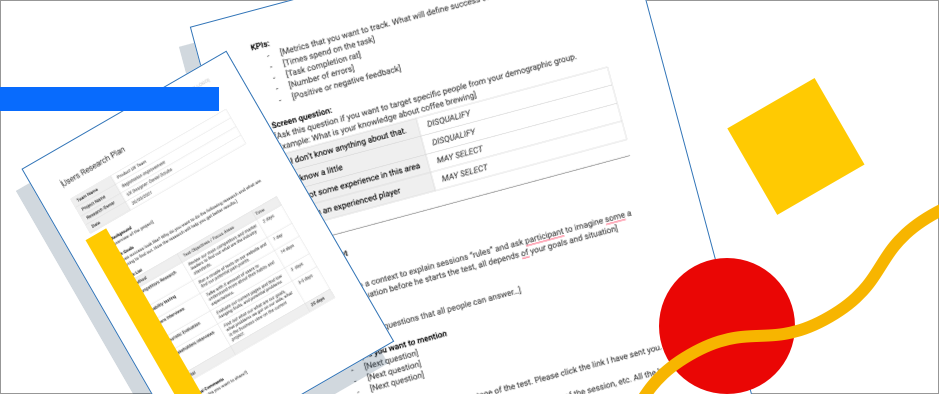
Summary: To prepare UX documentation for your researches you will need three documents. Research plan where you will communicate your actions and timeline, Individual research plan and research notes spreadsheet. You can download free templates and adapt them for your needs.
Being a UX researcher is not easy. I think we all can say that (to ourselves at least). When we try to search online for help, we can find many useful articles, but because this field is not as old as other disciplines, I feel we are still scratching the surface.
I have noticed that a lot of articles focus on the craft or self-development but we neglect the organization part of it. I know we are designers and have a mind in different places but we are also part of the business ecosystem. To communicate with others we need to adapt our language so it is understood on every level. We are no different than PMs or BIs and we need to have our corporate documentation like everyone else.
Having a well-balanced research process is as important as the research itself. Our colleges don’t have our knowledge, don’t understand our vocabulary or methods, very often have no idea what is usability testing or a user interview and how long it takes to get to perform them. Communicating it properly in a business matter makes us look more professional and gives stakeholders the answers they are looking for (what and when). After all, this is our job as an expert to explain what we are doing in a simple matter.
This is why whenever I begin a new project I use these 3 documents.
1. Research Plan
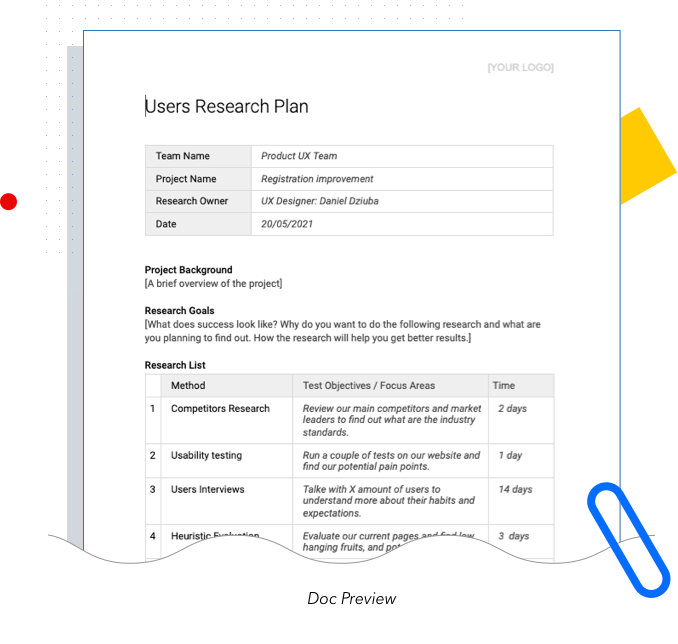
You can download the template here
Whenever a new initiative starts I prepare a research plan document that I send to all involved. This document gives my colleagues ideas on what to expect when we meet next time and how long it will take me to get answers. Thanks to that I can focus on my work and skip questions about the timelines
The function of this document:
- What type of research I am planning to perform
- How long it will take me
- Why this research is important for this project?
Overview of the document:
- Describe project goals, simply summarize the most important information about the project. What pushed you to start it and why?
- Research list is a key element of this document. it summarize all methods and time lines, can serve as a to do list.
2. User Testing Document
This document focuses on the single-user test from your list. You document in it all important information that is related to the test. It keeps you organized and allows you to share your progress with others. An additional benefit is that keeping all your test consistent. You can share it with your teammates for a review of the script questions as well.
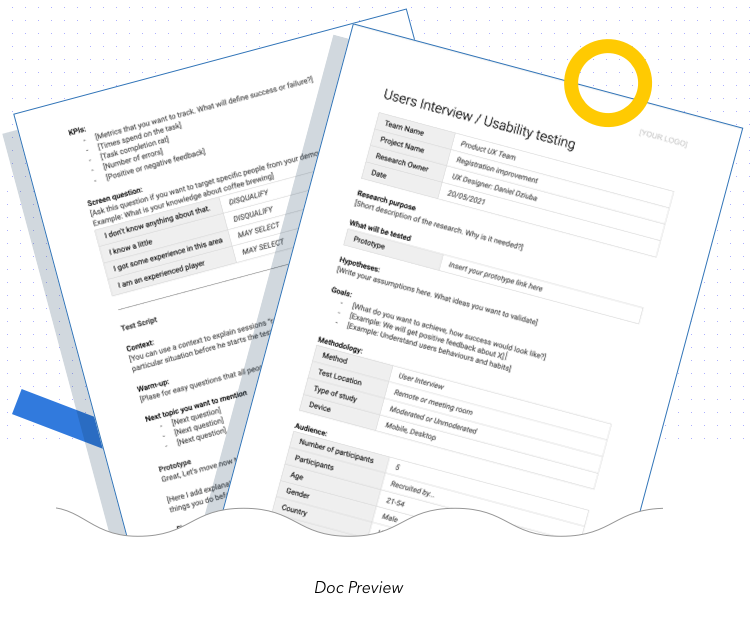
You can download the temple here
The function of this document:
- Inform about the test method
- What demographic group will be testes
- How it will be measured (KPI)
- What is the planed outcome
- What questions will be asked
Overview of the document:
In the top section try to write down all the essential intimations about the test. What is the main hypothesis, what KPIs will be measure, who is my target group and how many people will be tested? The aim is to conclude all the important information about the test.
The Script section is all up to you. Will it be a user interview or usability questions the pattern is the same. Write down the questions and add comments if needed. Anything important from your side. I like to add context and cheatsheet content that I am saying during the sessions to the participant just in case I will get lost or distracted. I can have a glips and get back on track with the session.
3. Users Research Notes
For this task, switch to the spreadsheet format. It is way easier to analyse all the notes you will have. Here, the plan is to add all your questions from the script and make a notest one by one for each participant. You can highlight important parts with different colours, use green, yellow and red, for highlighting important parts. What is important you can easily chunk the information and focus on one question with all the answers from your participants.
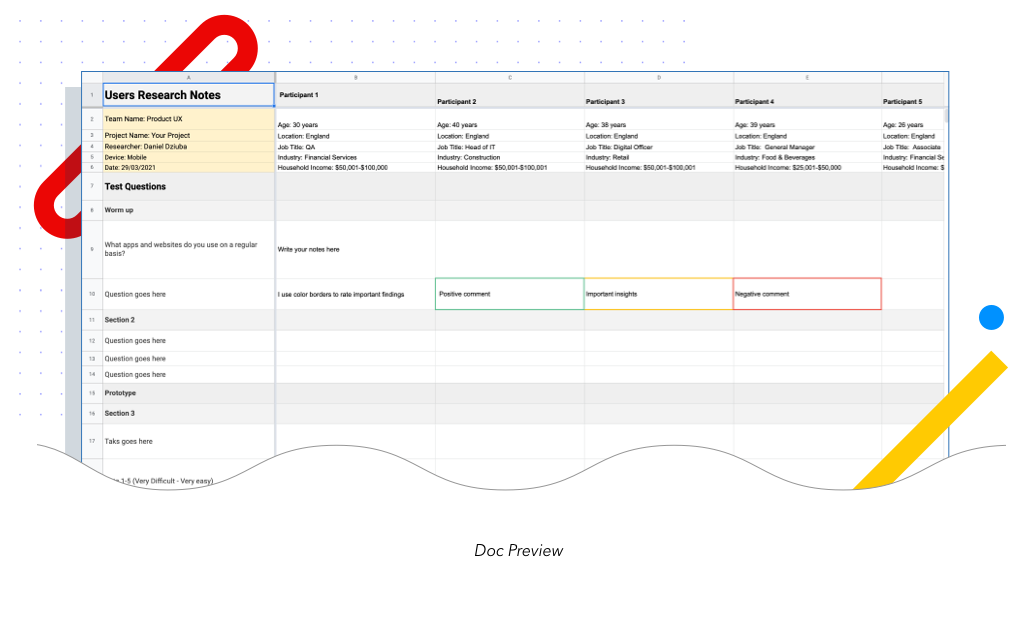
You can download temple here
The function of this document:
- Keep all notes in one place
- Chunking information allows you to identify patterns
Overview of the document:
In the top section add all your participants with basic information about them. You can use code names to label them.
In the first column write down all the questions and once you analyse the answer write down your comments. You can highlight the ones you think will be most important. for the scale questions with the number, you can use a function to get the average.
When you will finish filling it up with your comments you can go question by question and write down one general fiding for each section. In the end, you should end up with one column of your findings. you can use them to create a final report or presentation.
And the next step is….
The next step would be to write down a report or create a presentation with your findings. I always pick the second option. From my experience, I know that reports are too long and rarely read. I know it’s cool to write a nice pro doc with the findings but in my case and in my company this simply is not working. My job is to give relevant people the information they need fast and in a comprehensive way.
Conclusion
This is how it is done. Firstly write down the research plan with all action points and time estimation then create a document for each test with goals, participants and questions you want to ask. After the test is done add all the questions to the speedster with your notes and you should be ready to go. This plan works for me and my team. We are still a small department. In the future, we need to think about scaling and carte bigger repository with tags to organize our researches. So far we are good with this approach.
Thank you for reading.